Introduction
Spring Boot REST APIs return responses in JSON format. However, in many real-world applications, especially when working with legacy systems or external services, XML is required for data exchange. In this guide, you will learn how to configure your Spring Boot application to return XML responses instead of or alongside JSON.
 Why Use XML in REST APIs?
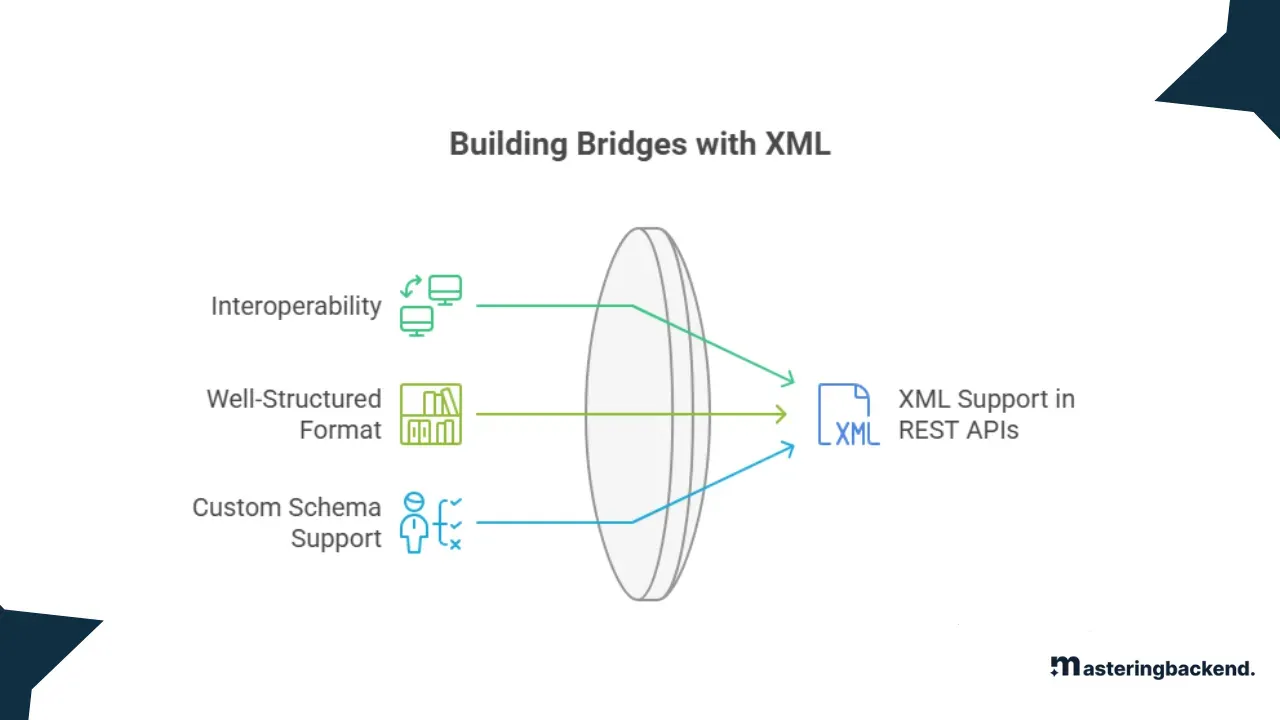
Interoperability: Many enterprise and legacy systems still consume or produce XML data, making XML support essential for integration.
Well-Structured Format: XML provides a hierarchical structure which is ideal for representing complex data.
Custom Schema Support: XML supports custom schemas (XSDs) and DTDs, allowing for strong data validation mechanisms.
 Step-by-Step Guide to Enable XML Response in Spring Boot
Step 1: Add XML Support Dependency
To enable XML serialization and deserialization, add the jackson-dataformat-xml dependency in your pom.xml file
xml
CopyEdit
<dependency>
    <groupId>com.fasterxml.jackson.dataformat</groupId>
    <artifactId>jackson-dataformat-xml</artifactId>
</dependency>
Spring Boot uses the Jackson library by default for JSON. The above dependency adds XML capabilities to Jackson, allowing it to convert Java objects to XML format.
Step 2: Create a Model Class (DTO) for XML Response
Now create a simple DTO (Data Transfer Object) that will be returned as XML. Annotate it with JAXB annotations to define its XML structure.
package com.ayshriv.demo.dto;

import jakarta.xml.bind.annotation.XmlElement;
import jakarta.xml.bind.annotation.XmlRootElement;
import jakarta.xml.bind.annotation.XmlAccessorType;
import jakarta.xml.bind.annotation.XmlAccessType;

@XmlRootElement(name = "User")
@XmlAccessorType(XmlAccessType.FIELD)
public class UserResponse {

    @XmlElement
    private String name;

    @XmlElement
    private int age;

    @XmlElement
    private String email;

    public UserResponse() {}

    public UserResponse(String name, int age, String email) {
        this.name = name;
        this.age = age;
        this.email = email;
    }

    public String getName() { return name; }
    public void setName(String name) { this.name = name; }

    public int getAge() { return age; }
    public void setAge(int age) { this.age = age; }

    public String getEmail() { return email; }
    public void setEmail(String email) { this.email = email; }
}
In the above example, the @XmlRootElement annotation defines the root tag for the XML output (<User>), and @XmlElement specifies that each field should be a child XML element.
Step 3: Create a REST Controller that Returns XML
Now we will create a simple REST controller that returns the XML response using produces = MediaType.APPLICATION_XML_VALUE.
package com.ayshriv.demo.controller;

import com.ayshriv.demo.dto.UserResponse;
import org.springframework.http.MediaType;
import org.springframework.web.bind.annotation.GetMapping;
import org.springframework.web.bind.annotation.RequestMapping;
import org.springframework.web.bind.annotation.RestController;

@RestController
@RequestMapping("/api")
public class UserController {

    @GetMapping(value = "/user", produces = MediaType.APPLICATION_XML_VALUE)
    public UserResponse getUser() {
        return new UserResponse("Ayush", 25, "[email protected]");
    }
}
The produces attribute ensures that the response content type is application/xml, which tells the client and Spring Boot that the return format will be XML.
Step 4: Spring Boot Main Class
You also need the main class to run the Spring Boot application.
package com.ayshriv.demo;

import org.springframework.boot.SpringApplication;
import org.springframework.boot.autoconfigure.SpringBootApplication;

@SpringBootApplication
public class DemoApplication {
    public static void main(String[] args) {
        SpringApplication.run(DemoApplication.class, args);
    }
}
This is the standard Spring Boot entry point. No changes are required here for XML support.
Step 5: Test the API
Start your Spring Boot application and test the endpoint using a tool like Postman, your browser, or Curl.
API Endpoint:
GET http://localhost:8080/api/userMake sure to set the Accept Header to:
Accept: application/xmlExpected Output:
<User>
    <name>Ayush</name>
    <age>25</age>
    <email>[email protected]</email>
</User>
This XML response is generated automatically using Jackson’s XML module. The structure of the XML follows the annotations in the DTO.
Common Issues and Troubleshooting
XML Response Not Appearing?
Ensure
jackson-dataformat-xmlis present in thepom.xml.Check that
produces = MediaType.APPLICATION_XML_VALUEis used in your controller.Set the
Acceptheader toapplication/xmlin your API client.
XML Still Shows JSON?
Spring Boot defaults to JSON if no
Acceptheader is provided. Use tools like Postman and set the correct headers.Verify that your DTO class uses
@XmlRootElement.
Conclusion
Spring Boot makes it easy to return XML responses from REST APIs. With just a few configurations, you can switch between JSON and XML formats based on client requirements. This flexibility makes your APIs more adaptable for different consumers, especially legacy systems and third-party integrations.
By following the above steps, you can ensure your Spring Boot REST API supports both JSON and XML, improving its usability in a wide range of enterprise scenarios.


