We can use ExpressJS to develop the Restful API ( Microservice ) of your backend application, and the frontend can be developed with either Vue, React, or Angular.
We can also use ExpressJS to develop a monolithic application where the frontend and the backend (logic) are all in the same codebase.
If you’re starting, you need to have Node.js and NPM installed on your local machine.
To get started, download and install the latest version of Node.js, which will come with NPM.
This Expressjs tutorial will be building both the API-only backend and the monolithic application that includes both the frontend and the backend of a Todo application.
Let’s dive right in:
Building a Simple Todo API with ExpressJS 5
Setting up Express 5
As of the time of writing, Express 5 is still in the alpha release stage and comes with lots of bug fixes, breaking changes, and improvements.
Our application will be based on Express 5, so you can review the changes in my Express 5: What’s new.
You can review and install the previous version from here, which was a major release of Expressjs as a framework.
To install Expressjs 5:
Create a folder in your machine by running the following command.
mkdir todo-express-api
cd todo-express-api
Next, install Express 5 with this command:
npm install [email protected] --save
Note that Express 5 is still in the alpha stage when writing, and the command can change when released.
Next, create a server.js file in the root directory to contain all your server codes.
touch server.js
…and paste in the following codes.
const express = require('express')
const app = express()
const port = 3000

app.get('/', (request, response) => {
  response.send('Hello World!')
})

app.listen(port, () => {
  console.log(`Example app listening at http://localhost:${port}`)
})
You should already be familiar with the script above, but we will extend the script to contain more endpoints (URL) below.
const express = require("express");
const app = express();
const port = 3000;

// Data Source, could be replaced with a real database
const todos = [
  {
    title: "Todo 1",
    desc: "This is my first Todo",
    completed: true,
  },

  {
    title: "Todo 2",
    desc: "This is my second Todo",
    completed: true,
  },

  {
    title: "Todo 3",
    desc: "This is my third Todo",
    completed: true,
  },

  {
    title: "Todo 4",
    desc: "This is my fourth Todo",
    completed: true,
  },

  {
    title: "Todo 5",
    desc: "This is my fifth Todo",
    completed: true,
  },
];
// Data source ends here

// Endpoint starts here
app.get("/", (request, response) => {
  response.status(200).json(todos);
});

app.get("/todos", (request, response) => {
  response.status(200).json(todos);
});

app.get("/todos/:id", (request, response) => {
  response
    .status(200)
    .json({ data: todos.find((todo) => todo.id === request.params.id) });
});

app.post("/todos", (request, response) => {
  todos.push(request.body);
  response.status(201).json({ msg: "Todo created successfully" });
});

app.put("/todos/:id", (request, response) => {
  const todo = todos.find((todo) => todo.id === request.params.id);
  if (todo) {
    const { title, desc, completed } = request.body;
    todo.title = title;
    todo.desc = desc;
    todo.completed = completed;
    response.status(200).json({ msg: "Todo updated sucessfully" });
    return;
  }
  response.status(404).json({ msg: "Todo not found" });
});

app.delete("/todos/:id", (request, response) => {
  const todoIndex = todos.findIndex((todo) => (todo.id = request.params.id));
  if (todoIndex) {
    todos.splice(todoIndex, 1);
    response.status(200).json({ msg: "Todo deleted successfully" });
  }
  response.status(404).json({ msg: "Todo not found" });
});
// Endppoint ends here

// App listens to incoming requests here
app.listen(port, () => {
  console.log(`Example app listening at http://localhost:${port}`);
});
Above, we have created different endpoints to retrieve all, retrieve single, create, update, and delete todos, which are basically called CRUD (Create, Read, Update, Delete).
Testing with Postman
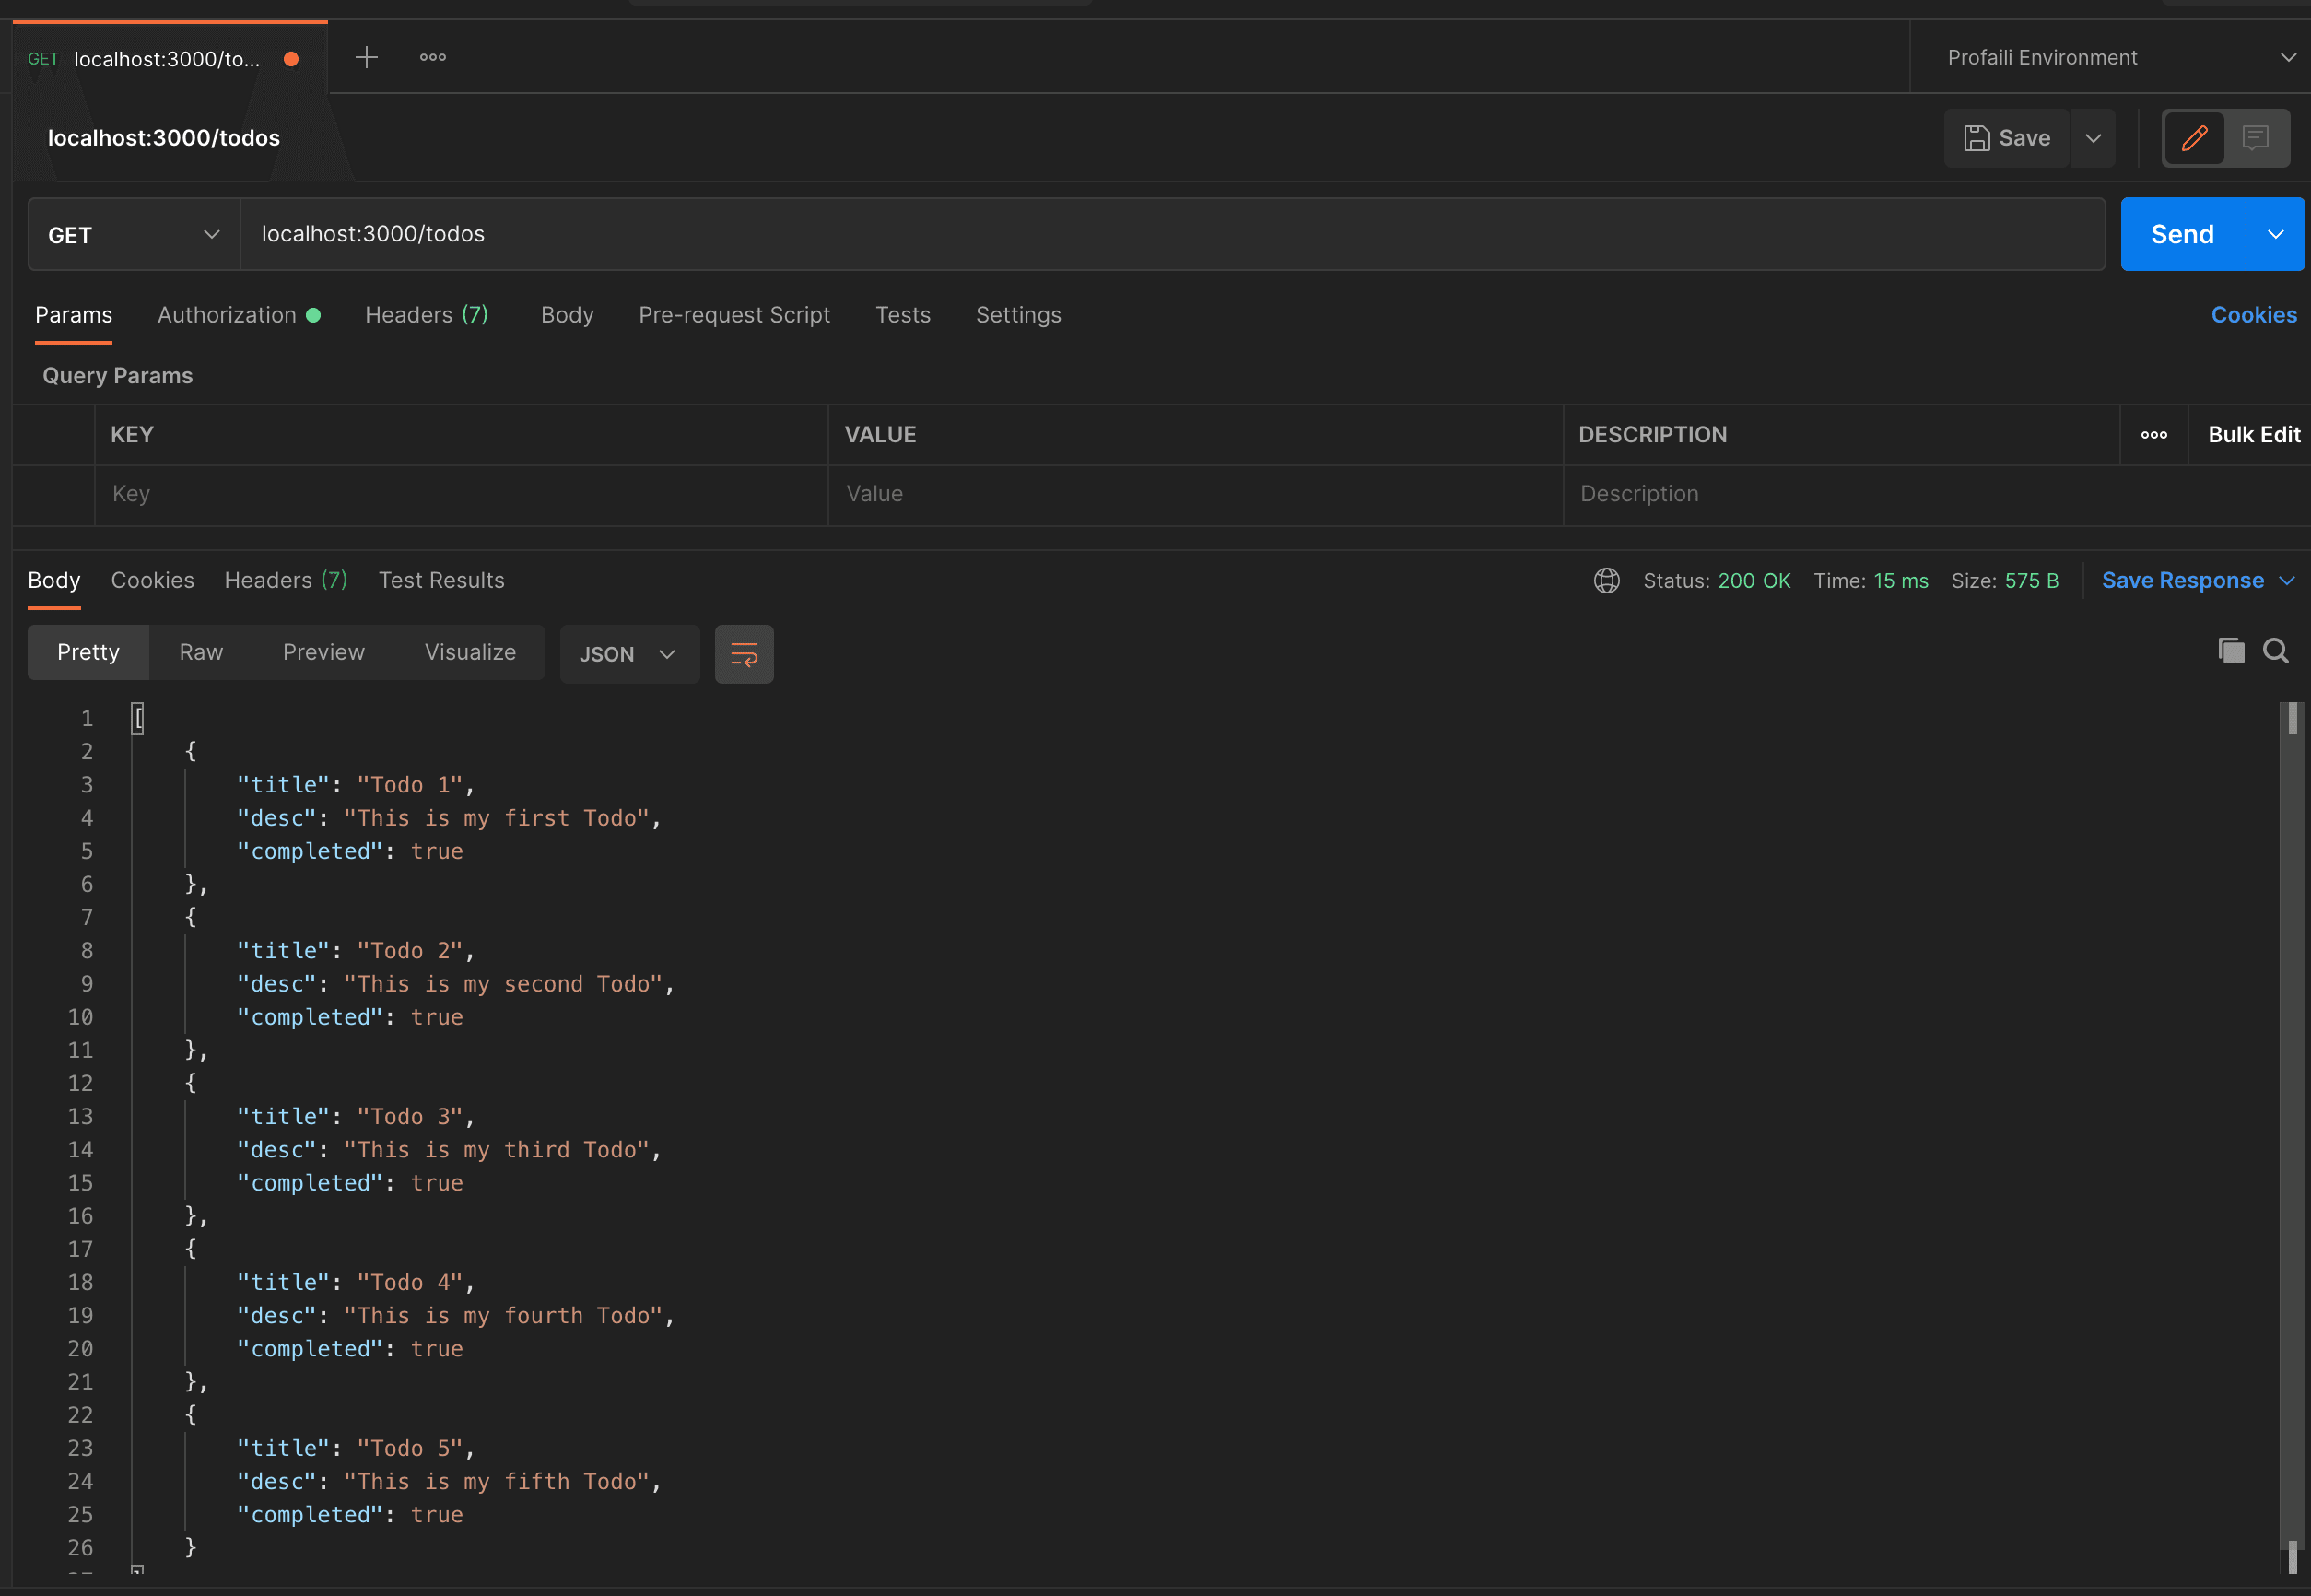
We will test our newly developed REST API with Postman and be sure we have the right data.
Run the following command:
node server.js
You can read more about Postman and install it on your local machine if you don’t already have it.

Suppose you have a response as above congrats. You can test out the remaining endpoints.
Next, we will build a real-world application with Express JS:
Build a real-world ticketing system
To show the capabilities of the Expressjs Node.js framework and how we can combine it with the frontend, this ExpressJS tutorial will lead you through building a Ticketing System App.
This app will create events, generate tickets for the event, allow users to view the event and the tickets, and make purchases and redeem the event tickets.
Once you finish the ExpressJS tutorial, you will have a functioning Ticketing application like the following deployed to Heroku:
Go from a total beginner in backend development with ExpressJS to a PRO by learning advanced topics and building real-world projects above this PDF… Join the waiting list.


